
Epoxy Floor Installation: How It Works Step by Step
August 29, 2026 · 3 min read
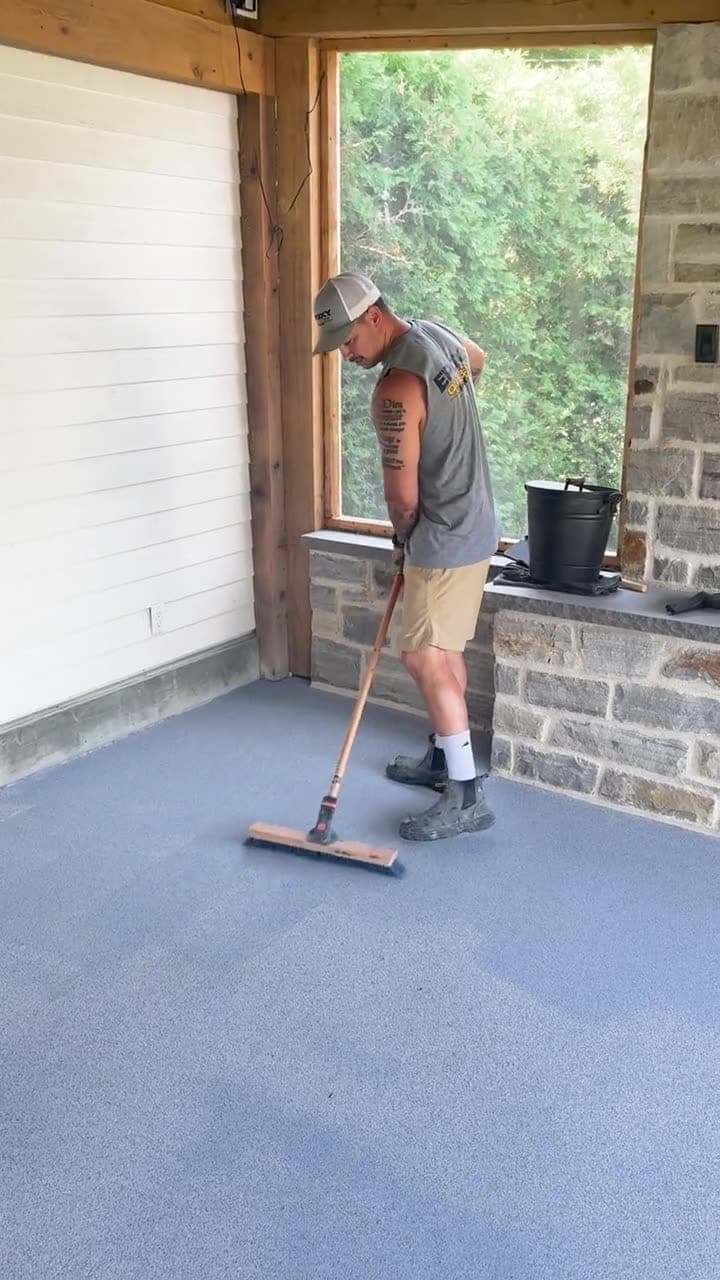
Installing an epoxy floor involves several precise steps: assessing the concrete, diamond grinding, repairs, applying epoxy coats based on the chosen finish, and a polyaspartic protective layer. At Époxy Québec Pro, everything is done by our own team, from grinding to the final finish, with no subcontracting, for a result that holds up over time.
First things first: assessing the condition of the concrete
An epoxy floor is only as good as the surface it's applied to. We always start by checking the condition of the concrete: cracks, oil stains, residual moisture. Industry standards recommend that the internal moisture level of the concrete stay below a certain threshold before applying a coating, otherwise the epoxy can peel or bubble over time. This is a step we never skip, even if it adds a bit of time to the schedule.
Diamond grinding: the step that makes the difference
This is where half the durability of a floor is decided. Diamond grinding opens up the pores of the concrete and removes anything that could interfere with adhesion, old paint, sealant, or surface laitance. Without this step, the epoxy won't bond properly and will eventually lift in patches. We do this work ourselves, with our own equipment, because it's not the kind of step you can hand off to someone else.
Once the grinding is done, we repair any cracks and holes, then clean the surface so it's clean and dry before the first coat goes on.
Choosing your finish: flakes, metallic, or quartz
Once the concrete is ready, we apply the system best suited to how the floor will be used:
- Vinyl flakes: a solid choice for a residential garage or basement, with a uniform look and good resistance to everyday wear.
- Hand-poured metallic: every floor turns out unique, often chosen for a business or space where appearance matters as much as durability.
- Double broadcast quartz: two layers of quartz for a slip-resistant, heavy-duty surface, commonly used in industrial settings or workshops with a lot of traffic.
The finish you choose directly affects the number of coats applied and how long the work takes on site.
Applying the polyaspartic finish
The final step is the polyaspartic protective coat. This is what gives the floor its resistance to impact, chemicals, and abrasion. Epoxy coatings are known for their low permeability and strong chemical resistance, two qualities that matter a lot in a garage, workshop, or commercial space where oils, road salt, or cleaning products can end up on the floor.
Polyaspartic cures faster than standard epoxy, which means the floor can be put back into use within a reasonable timeframe while still keeping a hard, long-lasting finish.
How long it takes and what affects the price
The number of days needed depends on the square footage, the condition of the concrete, and the finish chosen. A residential garage generally takes less time than an industrial floor with double broadcast quartz over a large area.
Pricing follows the same logic: it varies based on the condition of the surface, the total square footage, the finish selected, and how much prep work is required. There's no flat rate that applies to everyone, every floor has its own particularities. The best way to find out where you stand is to request a quote for your specific project.
Why work with a team that does everything in-house
When a single team handles the grinding, the application, and the finishing, there's no disconnect between steps. Whoever prepared the concrete knows exactly what was done before the next coat goes on. That's what allows us to offer a 10-year warranty on the final result, because we know every floor we install, from start to finish.
If you have a garage, basement, business, or warehouse project in Quebec City, Lévis, Saint-Georges, or Beaupré, get your free quote and we'll walk you through what applies to your situation.
Related reading:
Frequently asked questions
How much does an epoxy floor installation cost?
The price depends on the condition of the concrete, the square footage, the finish chosen, and the prep work required beforehand. There's no universal rate, every floor is assessed based on its actual conditions. The best way to get an accurate figure is to request a quote from Époxy Québec Pro for your project.
What are the downsides of an epoxy floor?
Poor grinding or a bad read on the concrete's moisture level can lead to peeling or bubbling over time. That's why surface prep matters just as much as the product you choose. A floor installed properly by a team that knows every step avoids these issues. Époxy Québec Pro offers residential garage epoxy.
Can you install an epoxy floor yourself?
DIY kits sold at hardware stores make it possible, but the result depends entirely on how well the concrete is prepped, a step that's often done poorly without professional equipment. Diamond grinding requires specific tools you won't find in a DIY kit. Without that step, the floor is likely to age badly, a problem Époxy Québec Pro's crew avoids on every job.
How long does an epoxy floor last?
An epoxy floor installed by a professional can last about 10 to 20 years in a residential setting. In commercial or industrial settings, the lifespan is usually shorter due to traffic, impacts, and spills, typically landing around 5 to 10 years.
How long does it take to install an epoxy floor?
The timeline varies depending on the square footage, the condition of the concrete, and the finish chosen, a residential garage generally goes faster than a large industrial space with double broadcast quartz. Each step, from grinding to the polyaspartic coat, has its own drying time that affects the overall schedule.
Areas mentioned in this article